Using rsync to Copy Folders Between Macs
Already know rsync? When copying from a Mac, make sure to include -E as an option so that Mac-specific extended attributes and resource forks get copied as well.
What is rsync?
rsync ("remote sync") is a command line tool that runs on all Unix-based systems, including macOS. Put simply, it syncs folders between computers very efficiently by only copying files that have changed. The initial copy obviously takes the longest, but later updates will only have to copy the changed files.
How does it work?
When you run rsync, it opens an ssh connection to the remote computer and runs a second instance of rsync on that machine. Now the two instances of rsync can compare files on both systems, essentially calculating a hash for each file. If the hashes don't match, the file is copied over.
Benefits of rsync
You know how annoying it can be to copy large folders over a network using the Finder? If the connection is lost, you have to start over from the beginning. This is especially frustrating if you have a weak WiFi signal and it keeps dropping out. In the end, you have to break up the copy into small, manageable chunks and manually put everything together. This is error-prone and simply a waste of time and energy.
The rsync algorithm inherently has no problem if the copy is stopped midway through for any reason. When you run rsync again, it sees the files that already exist as it checks the file hashes and will only start copying the files that it didn't get to the first time.
This makes rsync ideal for whenever you have a slow connection or the copy is so big you know it will take multiple sessions to complete.
Usage
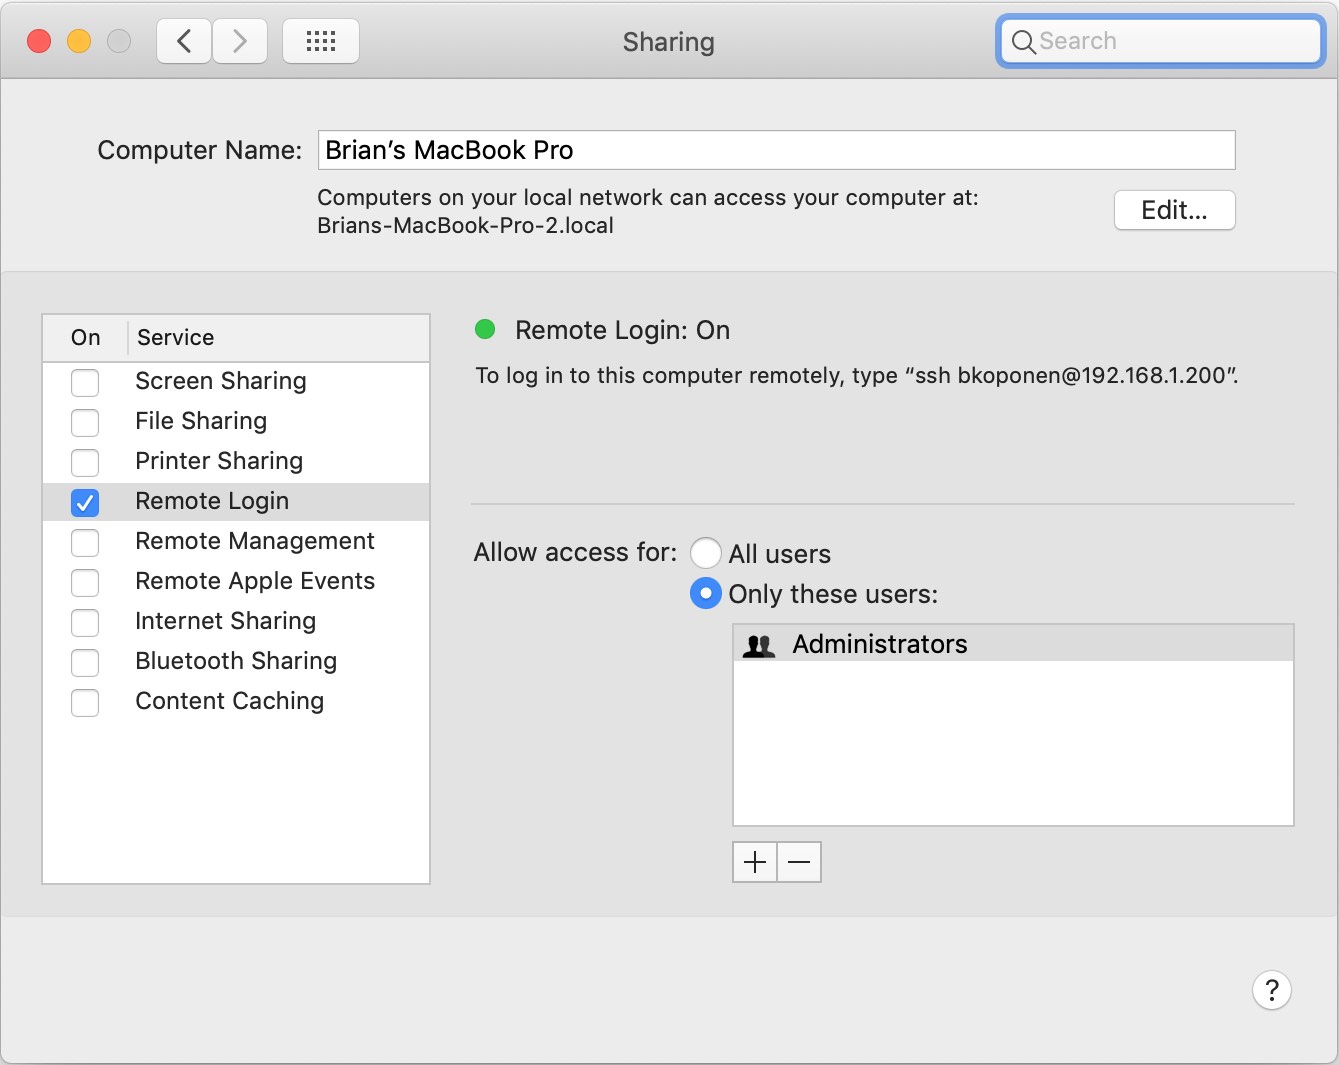
There is a little bit of setup work to do before you can use rsync. On the remote machine, you need to make sure you turn on Remote Login, that you have the login credentials on the machine and know its IP address. You will find all of this in the Sharing and Network sections of System Preferences.
The format of the rsync command looks like this:
$ rsync [options] [source_folder] [destination_folder]
Either the source_folder or destination_folder can be remote machines, but not both.
To make one of the folders a remote machine, you include the username and IP address before the folder path like this:
[email protected]:"/Users/remote_username/path/to/source/folder/"
rsync has a lot of options available for many different situations. For a standard copy, these are the options I like to use:
| Short Form | Long Form | Description |
|---|---|---|
| -h | --human-readable | Outputs file size numbers in human readable form. |
| -a | --archive | Archive mode. This turns on most of the options you need to copy a folder in the same way the Finder does. |
| -v | --verbose | Increase the verbosity of output. This is up to personal preference. |
| -H | --hard-links | Preserves hard links. Without this, hard links get copied as separate files. |
| -E | --extended-attributes | Copy extended attributes and resource forks (Mac-specific). This is very important! Without this, files on a Mac that have a resource fork won't get copied correctly. |
| -P | Turns on both --partial and --progress. Keeps partially transferred files and shows a progress bar during the transfer. | |
| --stats | Displays file transfer stats. This is up to personal preference. |
All put together, the command to copy a folder from a remote machine to the local machine looks like this:
$ rsync -havHEP --stats [email protected]:"/Users/remote_username/path/to/source/folder/" "/Users/local_username/path/to/destination/folder/"
Conclusion
rsync has great documentation in its man page. Every option is explained as well as discussion of its many advanced features. It is well worth the time to read through. Using the command above is a great start and probably the most common usage of rsync in daily use, but you may find all sorts of more specific use cases as you learn all of the options it has.